The Scouting movement makes the neckerchief part of its uniform. A generally ceremonial item, the neckerchief is taught to be a practical wilderness item in the Scouting tradition. The neckerchief, unrolled, is designed to be the perfect size for use as a triangular bandage for first aid. In most countries each Scout Group uses its own colour neckerchief. The colours are usually the “Group Colours” which may have a historical significance to the Group or to the local community.
You should take good care of your group necker, making sure it is always neat and tidy. It shows everybody to which Group you belong and, if you look after it, you will be able to wear it when you are a Beaver, Cub, Scout and Leader too.
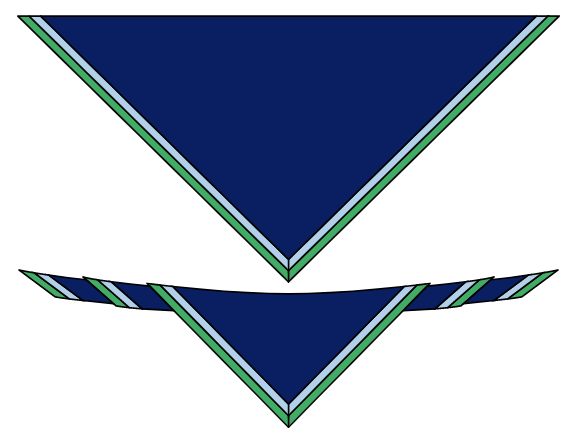
The 2nd St Neots Group necker is blue with a double half-inch border in pale blue and green. When wearing it the borders should be on the outside; remember, if you have the group necker on the wrong way, people may think you are in a different group!
Here is how to fold your Group necker neatly:
Please get an adult to help you iron your necker so that there are no major creases; because of the nature of the material some small creases may remain.
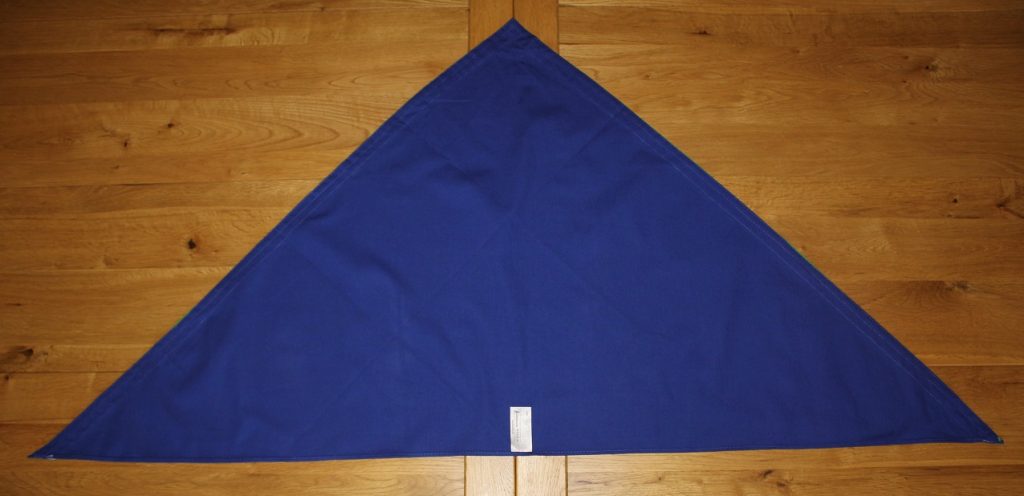
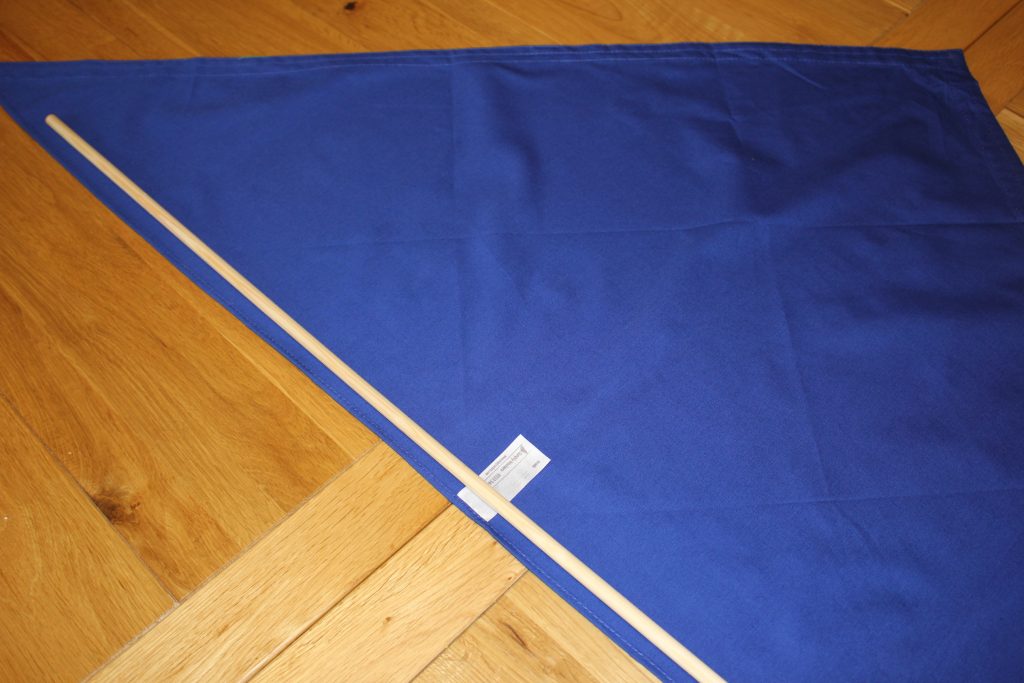
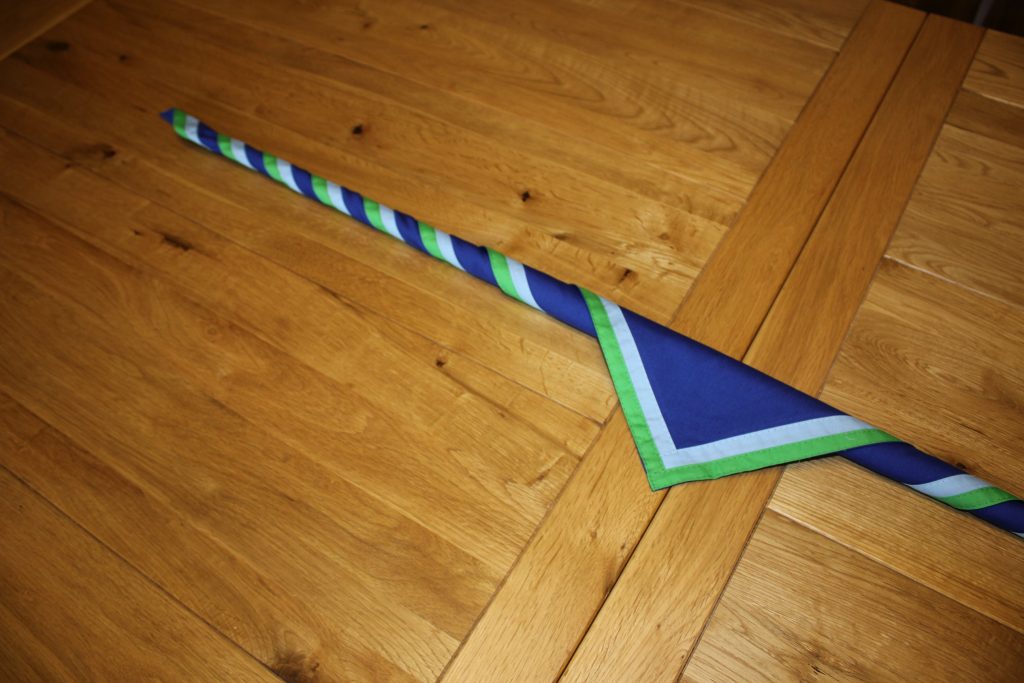
After the necker is ironed, lay it flat on a clean surface as below and check that your name is clearly legible on the label:
There are two ways to ‘fold’ your necker: you can either roll the necker or actually fold it. The method to choose is simply personal preference!
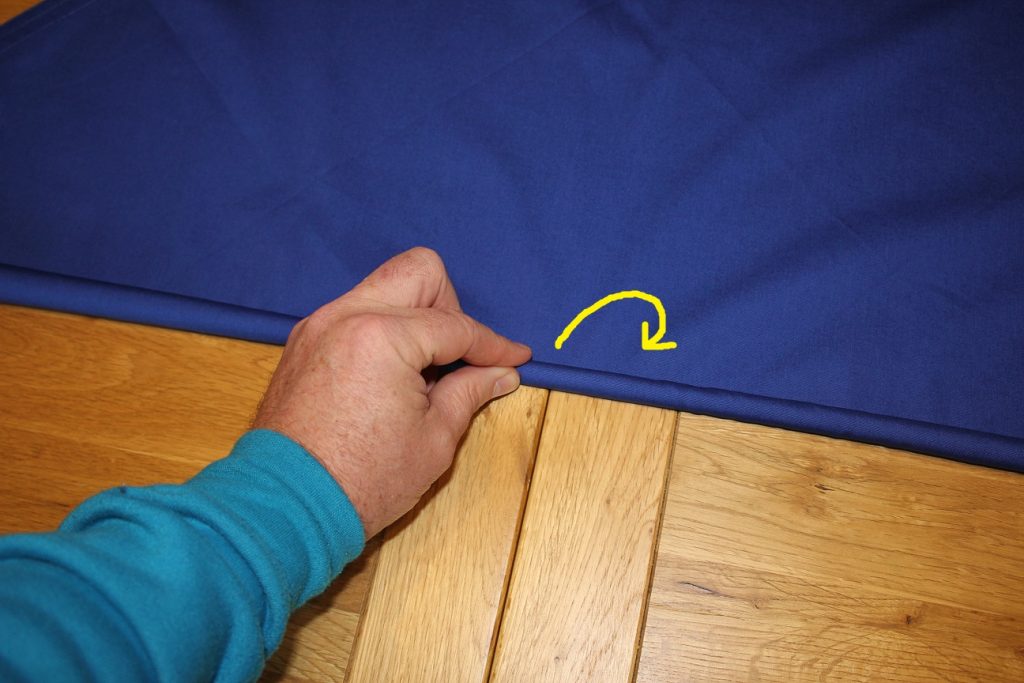
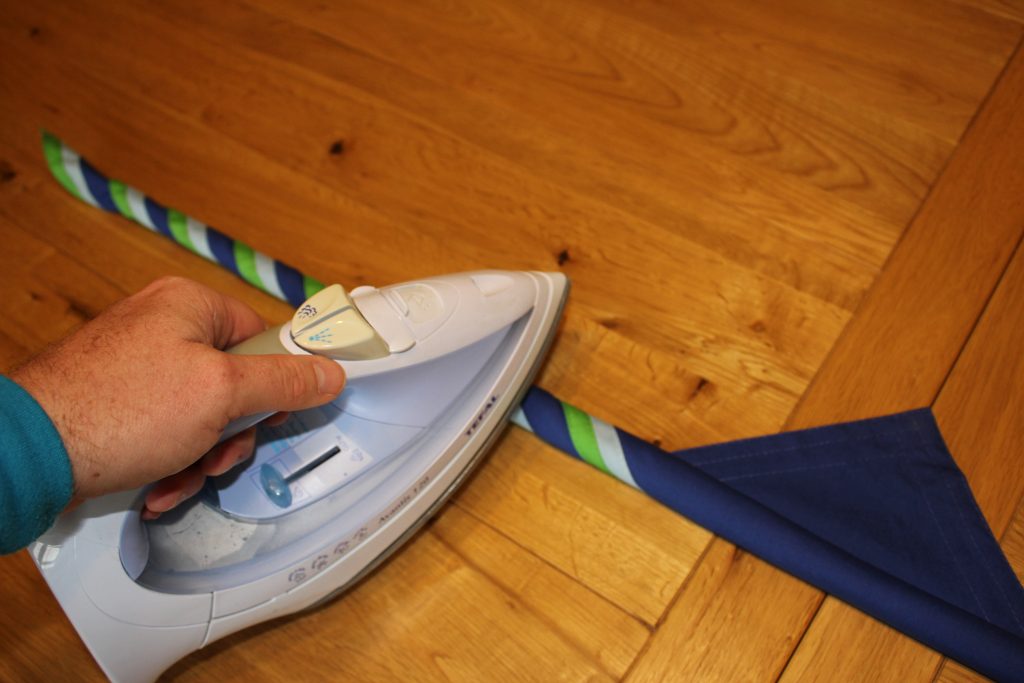
To roll the necker:
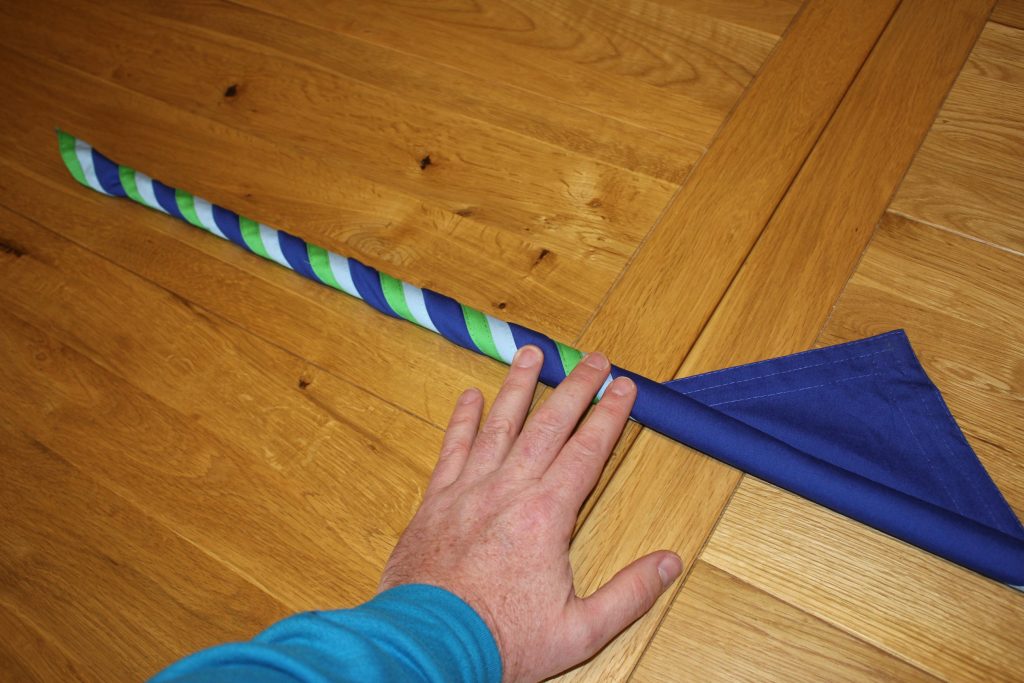
Roll the necker tightly from the centre smoothing out the ends as you go.
Try to ensure that the necker remains the same tightness from the middle to the end. It is quite easy to leave one of the ends behind! Try to maintain the consistency.
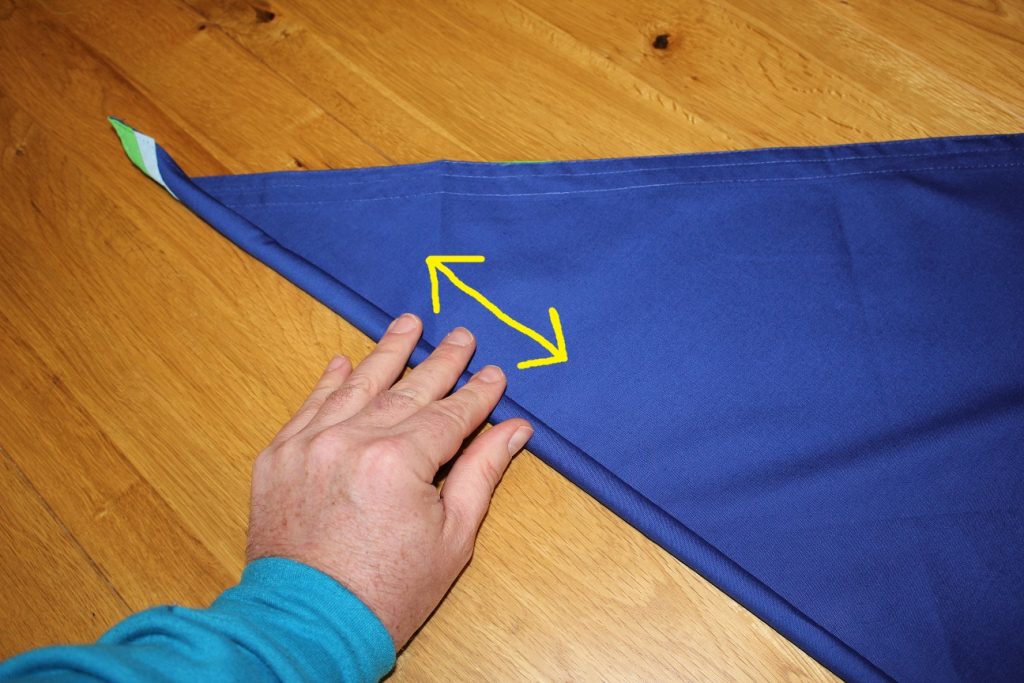
Continue rolling until the point of the necker is about as long as your hand span.
If you are really struggling, you may like to try rolling around a wooden dowel rod.
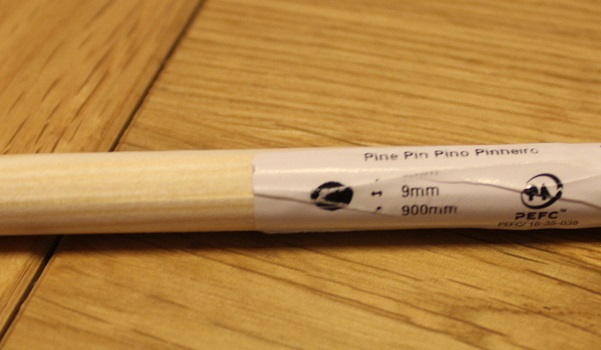
A 9mm x 900mm moulding gives a nice tight roll (About £1 from B&Q).
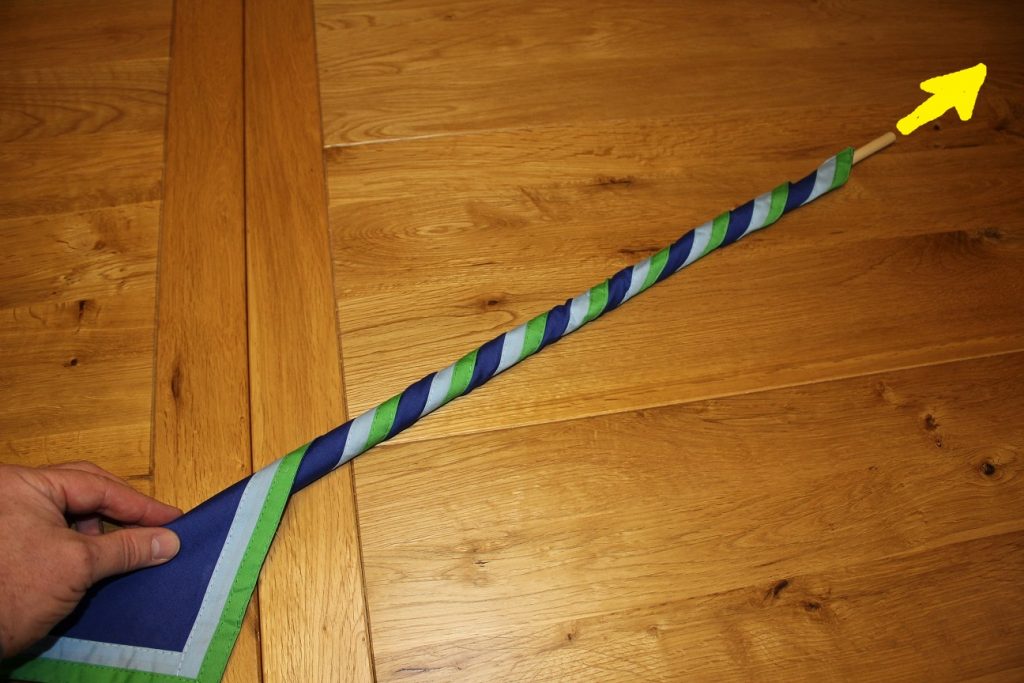
You can easily extract the wooden dowel rod from one end of the rolled necker.
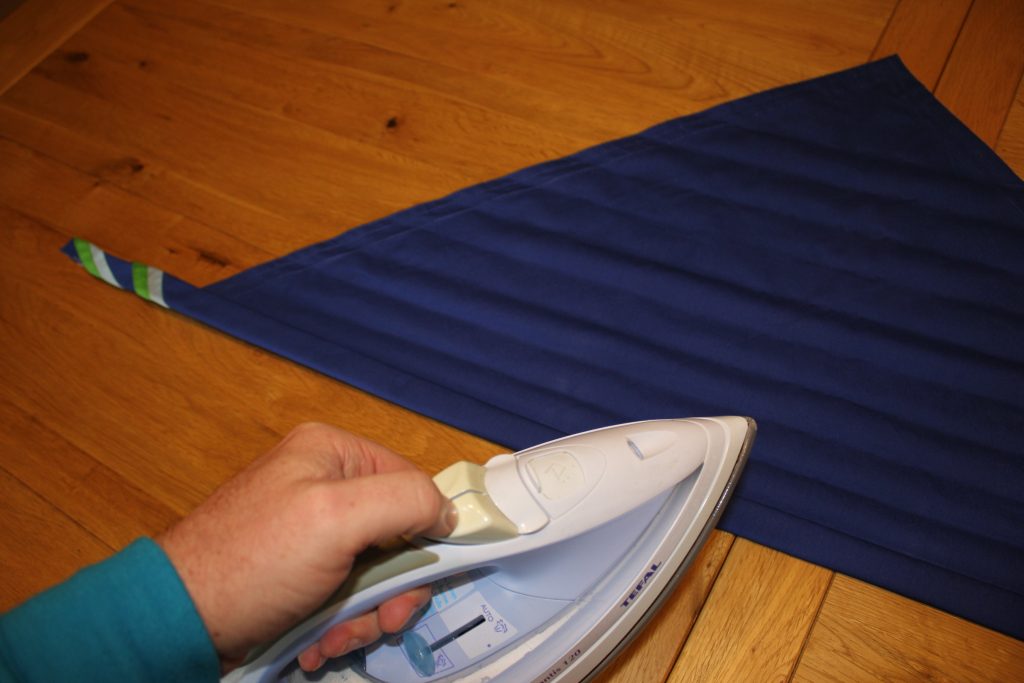
You will find that the necker is quite bulky if rolled, so it is best to then iron the necker flat.
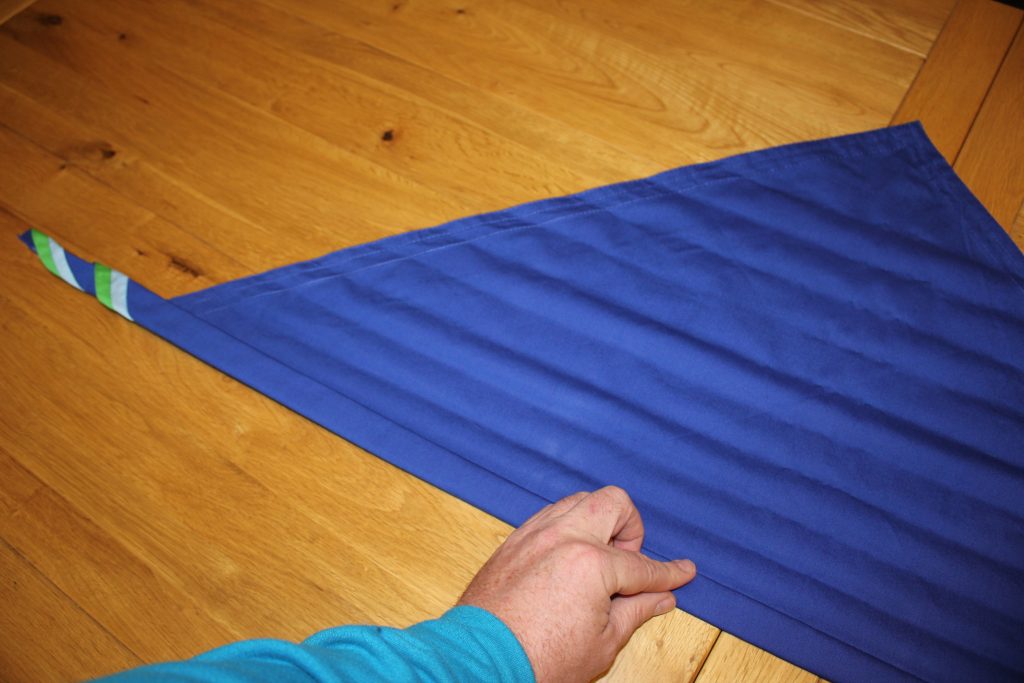
To fold the necker:
Fold the necker over at 1 cm intervals. Try to keep this consistent or else one end may end up bigger than the other. The first two folds may be quite difficult to align but after this it should almost fall into place.
To really keep the necker looking smart, you may want to iron the necker every few folds.
Finishing:
For both methods, you should now pitch the centre of the necker and smooth the necker as shown below.

Sliding a woggle into place completes the process.
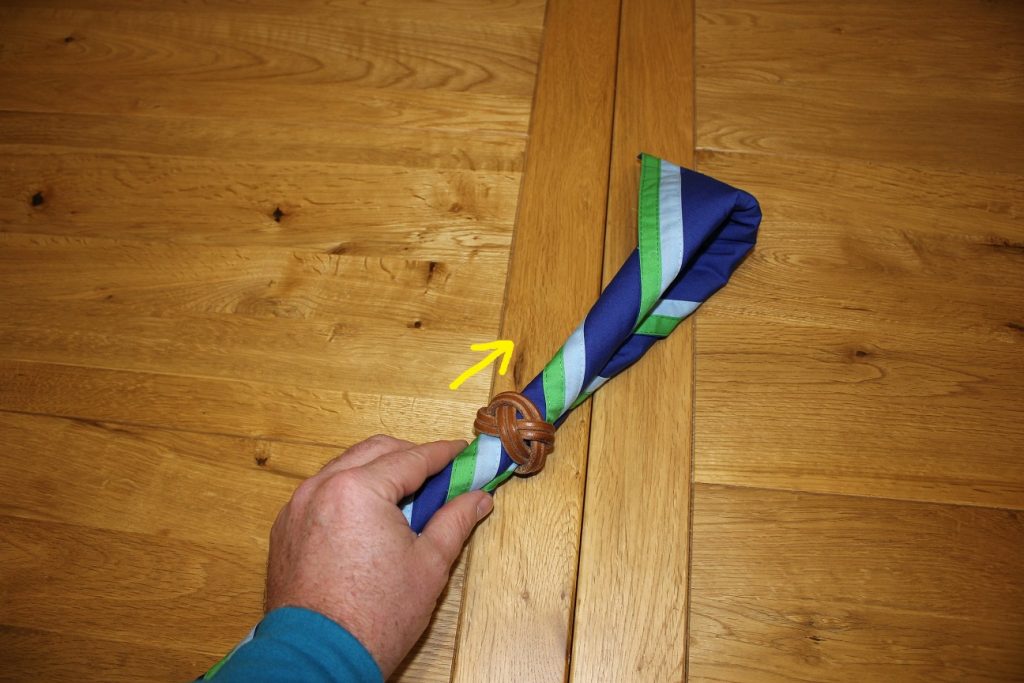
If stored around the neck of your uniform on a coat hanger the woggle can stay in place and the necker will remain neat and tidy.